Here you will find tips & tricks on how to start a discussion or how to ask your question in the community in the best possible way.
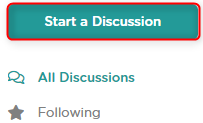
Press the Start a Discussion button on the main page.

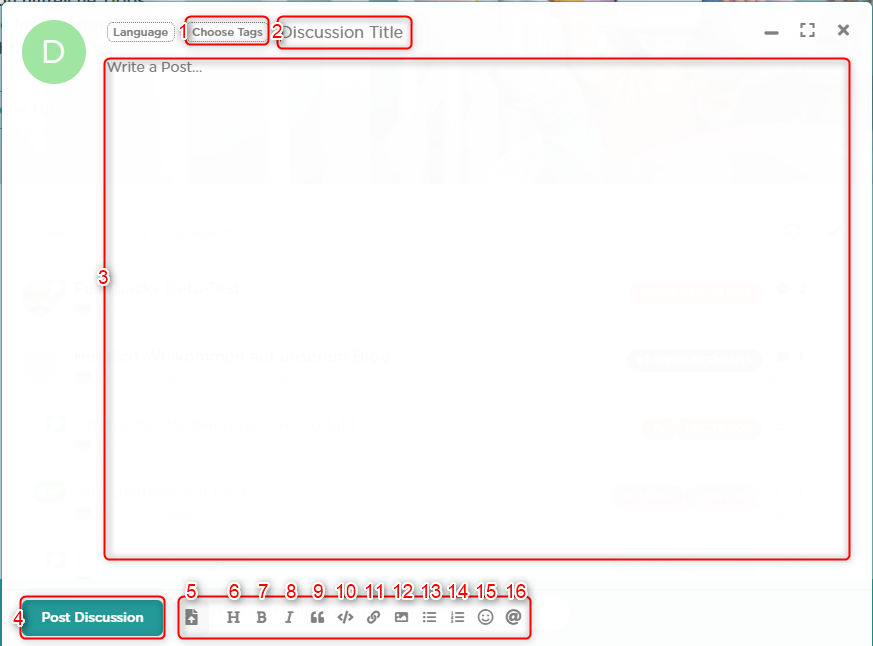
1 An editor window will open. Choose a main category and a subcategory.
2 Enter a meaningful title. If possible, avoid titles like “Help, Does this work? Is it true? etc.” Such titles are ignored by most members in the search results, as they do not reflect anything of the content.
3 Now write the content of your request. Don’t forget to mention what you have already done. For technical challenges, it is important to state what your technical infrastructure at home looks like. The more information you provide, the easier it is to get started finding a solution. Important: Please do not share personal information publicly.
In order to better convey your description to the members, we recommend adding visual media. Whether it’s a hand drawing, a photo of your cable can, etc., all of this will give the other person a better picture. Below we will explain you the tools which are available.
4 With the Post Discussion button you submit your post to the community.

5 Here you can upload your files. The most common graphic types (bmp, jpg, png) are supported (max. 10 mbyte). Of course you can also upload videos (avi, mp4, mpeg) (max. 10 mbyte). If you want to upload a PDF, this is also possible (max. 20 mbyte). Alternatively, you can use file sharing platforms on the internet to upload your files and share them with us.
6 Here you can insert a headline, if you need it.
7 With this function you can mark a text and press the button. The text will be highlighted in bold.
8 The italic text marking works as explained in point 7.
9 This function can be used better with no. 16.
10 With the code function you can e.g. insert logs when asked for it in the community. A marker is added to the text.
11 With a click on this mark you can add a link. An example of the function you can see below under 11a.
12 With this button you can add an external image. An example of this function is shown below under 12a.
13 With this function you can add a listing with points.
14 With this function you can add a list with numbers.
15 Here you can add emojis to your request.
16 With this @-function you can mention users or answers in the same discussion.
11a The link code consists of two parts. In the square brackets belongs the text, which becomes clickable and refers to a link. In the round brackets belongs the WWW address
CODE:

12a The image link code consists of two parts and starts with an exclamation mark. In the square brackets belongs the text, which becomes clickable and refers to a link. In the round brackets belongs the WWW address
CODE: 
